 by
by 
Recently, I have been doing much of framework and language hopping out of boredom. I have heard about Quarkus around a year ago. But I did not experiment with it much. Today, I had some free time and created a project with it to check how it measures against Spring Boot. In this article, I write about building REST APIs with Quarkus.
Introduction
Quarkus is a Cloud Native, (Linux) Container First framework for writing Java applications. Quarkus is an open-source project that started by Red Hat. It’s been around for a while but gained some popularity since last year. To put it in a simple term, Quarkus is a framework similar to Spring Boot that’s hugely optimized for the Cloud Native environment.
The key selling point of Quarkus is its fast start time and small memory footprint, especially when it’s compiled as a native app using GraalVM.
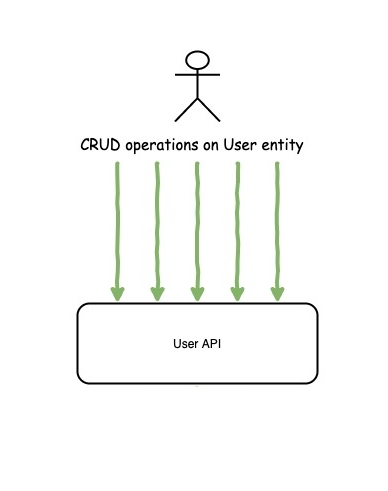
Famous User REST APIs example
To implement REST APIs, as usual, we will use the Users example with the following APIs,
GET /v1/users– returns a list of usersGET /v1/users/:id– gets a user by idPOST /v1/users– creates a new userPUT /v1/users/:id– update an existing userDELETE /v1/users/:id– deletes a user by id
For now, we don’t touch parts related to persistence and the service layer. We just focus on creating dummy REST APIs with some rudimentary error handling and payload validation.
Scaffolding the project
Similar to start.spring.io which allows you to bootstrap the project quickly, Quarkus also has that. Just open your browser and go to code.quarkus.io and select the following dependencies,
RESTEasy JSON-B– for JSON serialization and deserializationHibernate Validator– to validate payloadsHibernate ORM– for persistence (for upcoming tutorials)JDBC Driver - MySQL– to connect to JDBC (for upcoming tutorials)
After that, click the generate button and download the zip file. Finally, open the project in your favorite IDE.
Building User REST APIs
As mentioned above we will create multiple APIs related to the user resource. So it makes sense to create the UserController or UserResource file and add some basic functionalities to it,
Some points about the above code,
@Path("/v1/users")equals to@RequestMapping("/v1/users")in Spring Boot.dummyUsersrepresents the persistence that we will replace it with the actual database in upcoming posts.createDummyUsermethod creates a user and adds them to thedummyUsersset.
The User.java entity/model looks like this,
As of now, User.java is just a POJO with no annotation except the compareTo implementation that’s used for sorting the dummyUsers set. Once again, we will add more functionalities to it in the following articles.
Now let’s go back to UserController and start implementing the APIs.
GET /v1/users implementation
The implementation is so simple. All we have to do is to return a list of users in the set.
@GET is equal to @GetMapping in Spring Boot.
GET /v1/users/{id} implementation
For this endpoint, we need to get a user id and loop through the set (dummyUsers). If the user is found, returns it, otherwise, throws an exception which is translated to HTTP STATUS 404,
Since we need to loop through the set for PUT and DELETE methods, it makes sense to extract it in a method (getUserById).
If you run the code as-is and provide a wrong id, the app returns a stack trace instead of 404. That’s because we have not implemented ExceptionMapper AKA Exception Handler (in Spring Boot term) yet.
For that, we need to create a class that implements ExceptionMapper interface as follows,
We have made the use of the Response builder to create the proper status code and message body. The ErrorResponseBody class contains the error message.
POST /v1/users implementation
We need to create a DTO that an API consumer can use to post payloads. This should differ from the User entity/model because we don’t want the consumer to determine the id and expose the underlying implementation. For that, let’s create the UserDto as an inner class, as of now,
Note that the UserDto must have public getters, setters, and default constructor, otherwise, Quarkus cannot populate the fields. We can also add some validations to it using the Hibernate Validator annotations.
Finally, we can implement the endpoint as follows,
@Valid handles the validation, if any constraints are violated, it returns 400 with proper error messages.
PUT /v1/users/{id} implementation
This endpoint is very similar to POST and rather straightforward,
DELETE /v1/users/{id} implementation
We can code DELETE endpoint as follows,
Note that, we return an instance of Response. This is because we want to return 204 status code instead of 200.
Test the application
Now that the implementation completed, you can run the application,
Protip: you don’t need to stop the application after every change. Simply save the file and refresh the page 😀 Quarkus takes care of it amazingly.
And then test it with the following CURL commands,
You can also find the complete working example on my GitHub,
https://github.com/kasramp/quarkus-rest-example
We are done with building REST APIs with Quarkus, it’s very easy as you’ve seen. In the next article, I go through building the service layer and persisting the data to MySQL.


