 by
by 
As you may know, I have migrated my blog to a new domain. The process took me sometimes but at the end, I managed to finish the migration successfully. During the process, I’ve read many articles and collected bits and pieces of information here and there. As none of the articles was comprehensive, I decided to write a guideline myself. In this article, I cover how to do domain migration for WordPress sites.
The importance of domain migration
Migrating a domain is a very crucial task. If it’s not done correctly, it can create massive chaos. The most important impact is losing the traffic and getting excluded from search engine indexing. And if you have a site with high traffic, recovering from it will be too difficult if not impossible.
That’s why every step should be taken cautiously. My advice is don’t rush into it. Take your time, analyze all aspects and then start the migration process. Additionally, make backup of everything before migration and have a recovery plan in case anything went wrong. So that you can revert the changes easily.
Domain migration checklist
Since the domain migration is such a sensitive process, I have created a comprehensive checklist. I also have broken down the steps and explain each separately. Additionally, some of the steps are optional which means may not apply to all sites, feel free to skip them.
Creating files backup
The first and the most important prerequisite is to backup all the files. Does not matter whether the new domain will be hosted on the same platform or not. Do a backup, download it and distribute it in multiple places. So that even if anything happens to your computer, you have backup in other places.
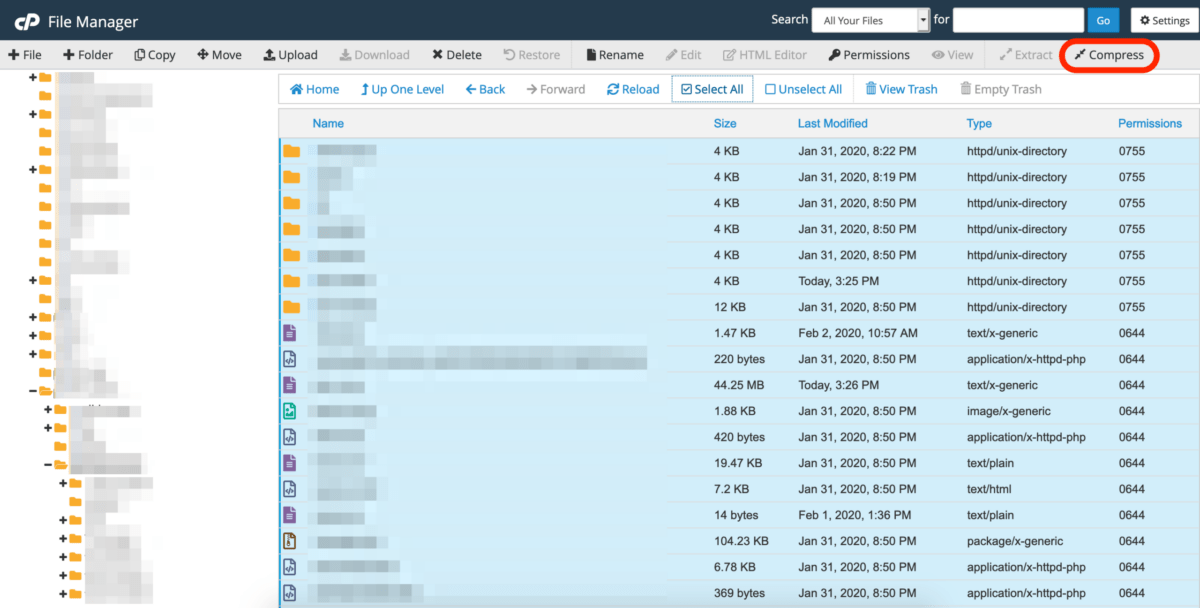
My preferred approach is to zip all the files on your existing site and download it via FTP. You can use tools like FileZilla.
Creating database backup
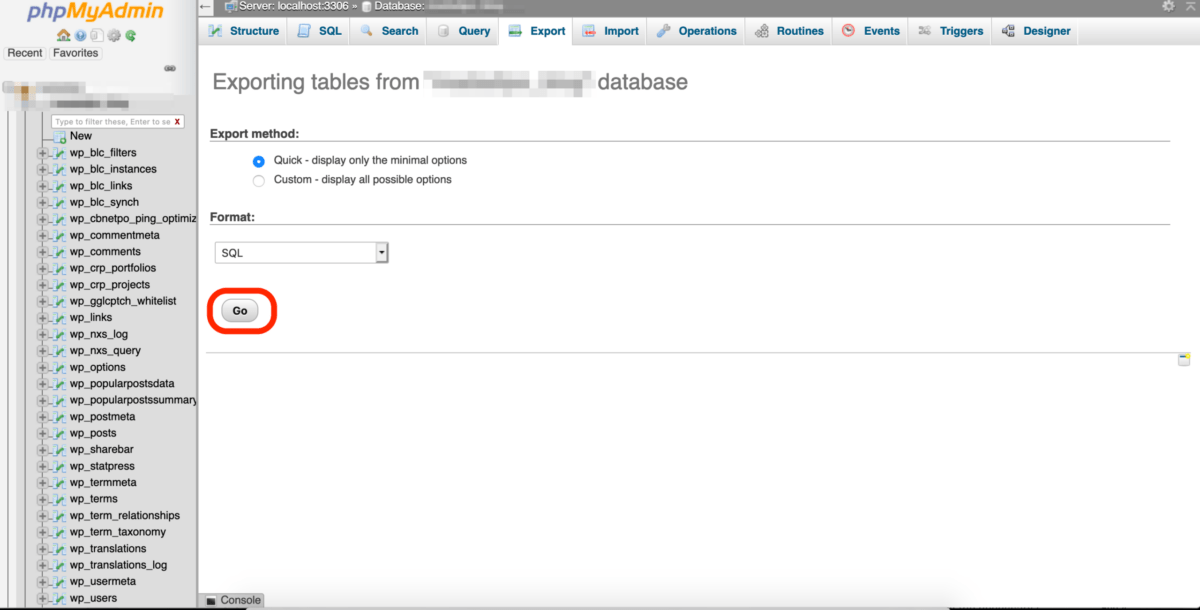
The next step is to make a backup of the database. I found using phpMyAdmin handy for database backup and restoration purposes.
Restoring the files
Once you made a backup, you need to go to the new domain and restore the content. The process should be as simple as unzipping the backup.
Restoring the database
Again it’s a very simple process, just create a new database using phpMyAdmin and restore the backup file.
Updating robots.txt of the new domain
Since the migration process is in progress, it makes sense to disallow search engines to crawl the new domain. That’s mainly because the site is not fully moved and many pages won’t be accessible. Thus, the best is to change the robots.txt file to,
User-agent: *
Disallow: /
Updating the wp-config.php file
Since the database has changed, you need to update the wp-config.php file. The purpose is to add the new database credentials as well as setting the new domain name. Example,
define('DB_NAME', 'example_db');
define('DB_USER', 'example_user');
define('DB_PASSWORD', 'example_password');
define('DB_HOST', 'localhost');
define('DB_CHARSET', 'utf8');
define('DB_COLLATE', '');
define('RELOCATE',true);
define('WP_SITEURL', 'https://www.example.com');
define('WP_HOME', 'https://www.example.com');
Updating the old links with Search & Replace plugin
Congratulations, now the new site should be up and running. But soon many internal links will be broken. Because they refer to the old domain. So you need to update them.
I recommend using Search & Replace plugin. With this plugin, you can search for any text at the database and replace it with something else. Do it for updating the internal links to point to the new site. You can also update the site name, and other details as well.

Run some testing
After you have done with updating the links, it’s time to do some manual testing. Just go to your site and check stuff as much as you can to ensure everything is working fine. You can also use some automated tools (such as link checker, mobile-friendly check, etc.) if you can’t check everything manually.
Removing the old site
Once you’ve ensured everything is up and running on the new domain, remove the old site content and the database.
Redirecting the old domain traffic to the new one
We don’t want to lose traffic. So it’s essential to redirect all the users to the new domain. This should be done for all links, not only the homepage. Otherwise, your site will be downranked by Google.
To do so, you need to create a .htaccess file in your old domain directory. I have gone through many trial and errors and found the following configuration works the best,
Options +FollowSymLinks
RewriteEngine On
RewriteBase /
RewriteCond %{HTTP_HOST} ^www.old_domain.com$
RewriteRule (.*)$ https://www.new_domain.com/$1 [R=301,L]
RewriteCond %{HTTPS} on
RewriteRule ^/?(.*) https://www.new_domain.com/$1 [R=301,L]
RewriteCond %{HTTPS} off
RewriteRule ^/?(.*) https://www.new_domain.com/$1 [R=301,L]
Mind the www and http, https in the file.
Once you set the redirection, you can check it using http://redirectcheck.com/.
Revert robots.txt changes
In this step, you need to revert the changes of the robots.txt, so that crawlers can crawl and index the new domain contents.
Moving your site in Google Search Console
To notify Google about the domain migration, we need to move the site in Google Search Console as well. But before that make sure the redirection works properly. For any links of the old domain, you should get a 301 response and the link of the new domain.
For moving the site in Google Search Console, simply go to Google Search Console and add a new property for the new domain. After that switch back to the old domain, click Settings, then click Change of Address, select the new domain from the drop down and then click validate & update button.

Once you have done that, you should be see the the site is moving message as follow,

Updating Google Analytics (Optional)
By contrast to the Google Search Console, you don’t need to create a new entry for Google Analytics. All you need to do is to update the details of your site. Of course, this works well if you don’t mind mixing the analytics of the old domain with the new one.
Otherwise, you better create a new entry, generate the analytics keys for the new domain and set them in WordPress.
Jetpack reconfiguration (Optional)
If you use Jetpack, I highly recommend deactivating the plugin and activating it again. In this way, you can create a new site on WordPress.com. The only trade-off is you need to reconfigure the plugin again.
By the way, if you use the Jetpack cache, turn it off for a day at least and let your site run without it. After that turn it back on. This gives the chance to Jetpack to recache the static assets again. Otherwise, they might not load properly.
Empty other caches (Optional)
I don’t use any cache plugins such as W3 Total Cache plugin. But if you do, ensure to empty the cache there as well,
Update your OneSignal (Optional)
For OneSignal users, you need to update the domain and any other necessary information there via settings for each push platform. For instance, Chrome push platform,

Update your FeedBurner (Optional)
The procedure that is applied for One Signal should be applied to FeedBurner. Just some minor details update,

Update your Social media pages (Optional)
If your site has social media pages, don’t forget to update them. It also makes sense to notify users beforehand about the migration as well as once the migration has done. So they won’t be caught in surprises.
That’s all for this post, as usual, I hope you enjoy it!
References
- Move WordPress to a new domain in 10 easy steps!
- How to Easily Move WordPress to a New Domain (without Losing SEO)


